


Vinyl turntables are a treasure for music lovers, providing you with unparalleled sound quality and musical experience. However, to ensure that your vinyl record player operates properly and delivers the best sound quality, you need to install and set it up correctly. This article will provide you with a detailed guide, step-by-step, on how to properly install and set up your vinyl record player, from positioning and stability to ultimate music enjoyment.
Here we will firstly show you how to install and set-up the turntable HQKZ-006:
Next is the specific text introduction about installing the turntable:
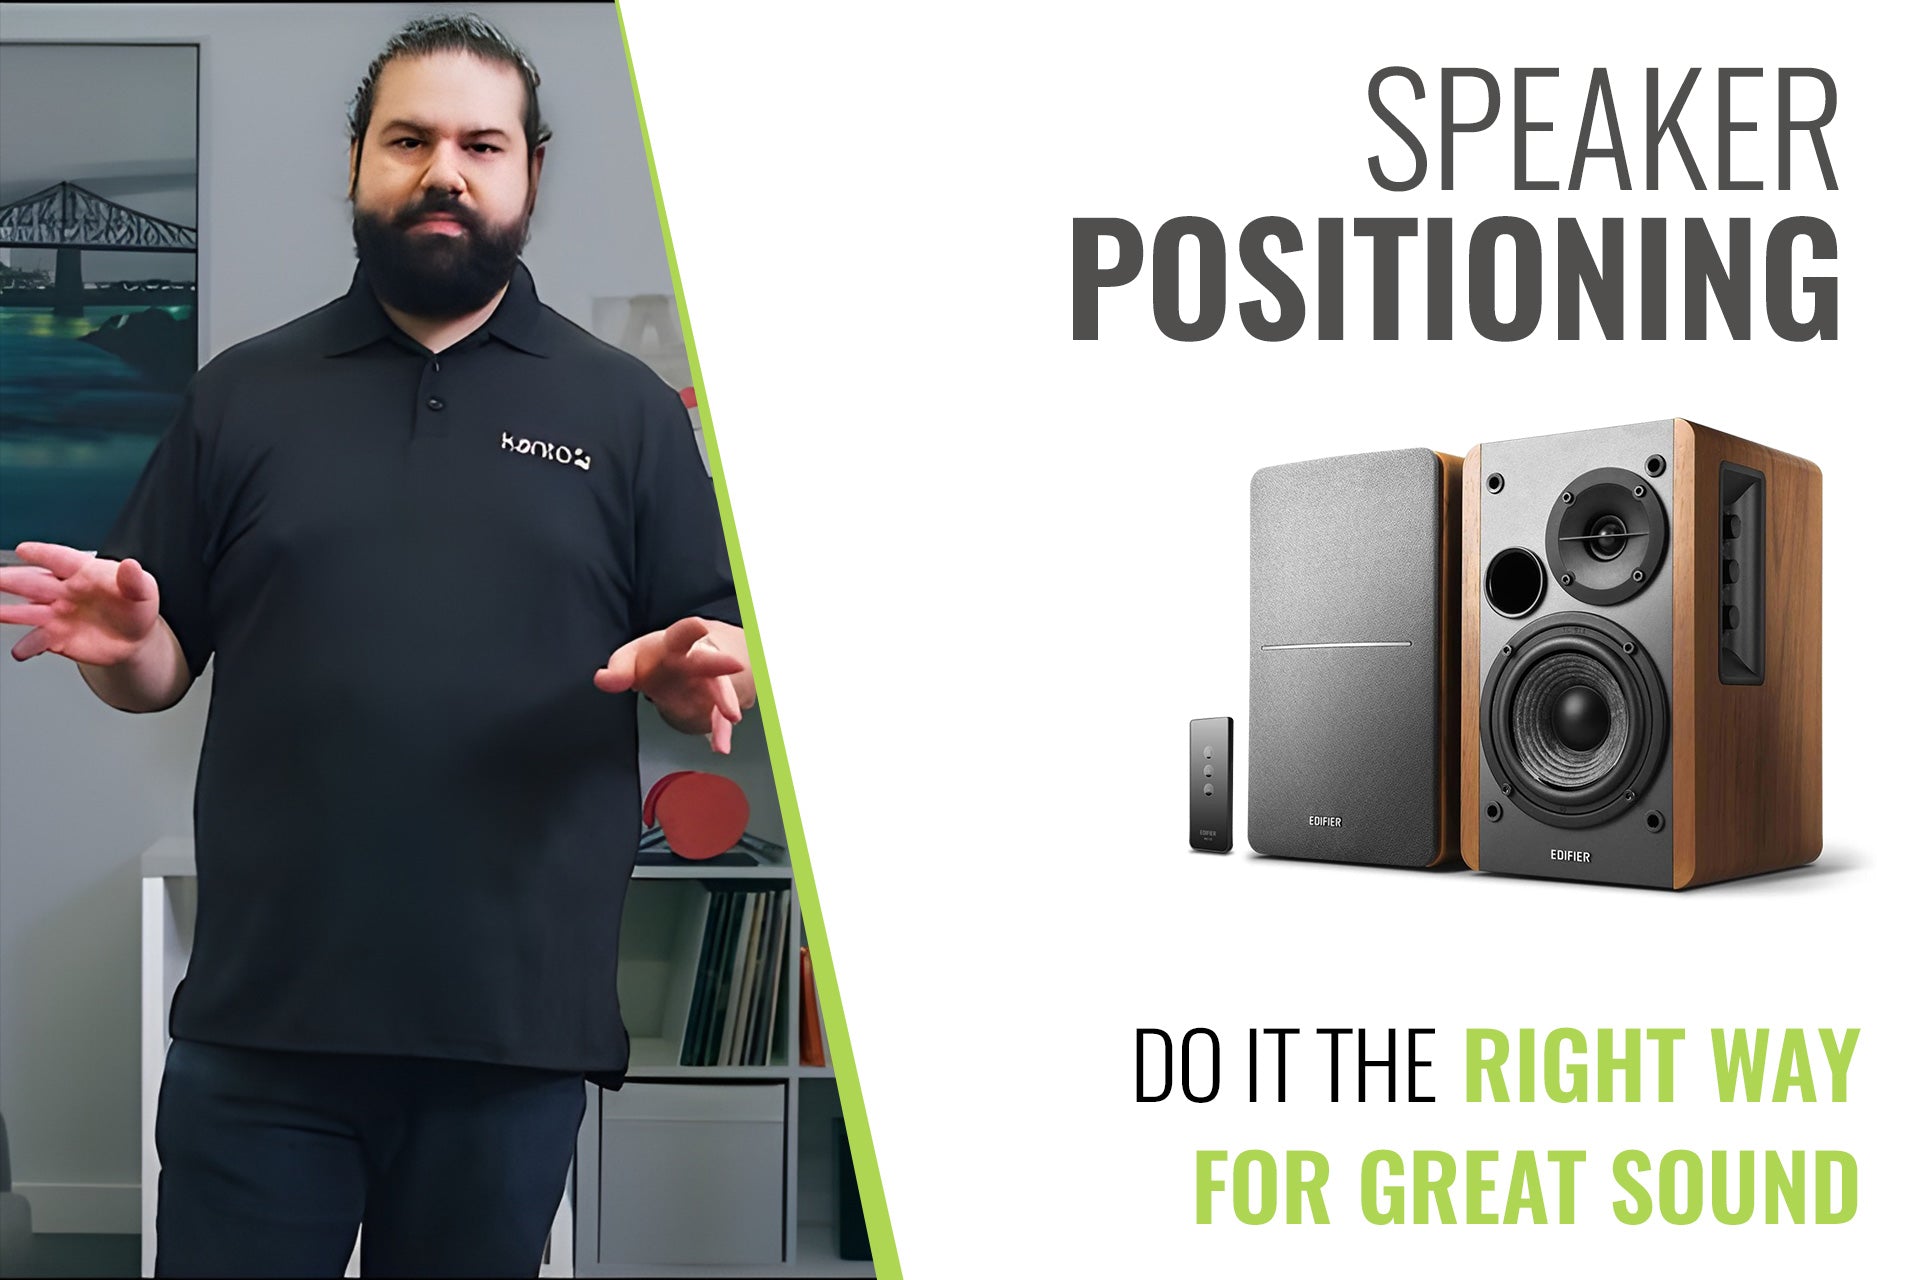
1. Position and Stability
Position and stability are the first steps to get started. Choose a stable, level surface to place your vinyl record player on to ensure that vibrations do not affect playback quality. Vibration can cause unnecessary noise and sound quality issues in your record player. If you have a dedicated music stand or stand, that would be an ideal location. Make sure the location is away from any potential sources of vibration, such as speakers or heavy appliances.
2. Record Player Settings
Once you've found a suitable location, next comes the turntable setup:
- Assembly: Follow the manufacturer's instructions to properly assemble your record player, including installing the drive belt (if applicable) and chassis.
- Calibrate Balance: Use the balance adjustment on the back of the tonearm to make sure the tonearm is balanced. Most record players have a tracking force scale, set it to match your cartridge's recommended tracking force (usually between 1.5-2.5 grams).
- Set the Anti-Bounce Switch: Adjust the anti-slip switch to match the tracking force, which will reduce record jump.
3. Cartridge Calibration
Next, cartridge calibration is a crucial step: Align the cartridge: Use a cartridge alignment tool or alignment chart to make sure the cartridge is installed correctly so that the needle lines up with the grooves of the record. Proper cartridge calibration can reduce record wear and improve sound quality.
4. Set Vertical Tracking Angle (VTA)
Adjust VTA: If your turntable supports vertical tracking angle adjustment, adjust it as needed. This affects the angle at which the stylus contacts the record, potentially changing the sound characteristics. Adjust it to your ears and musical taste.
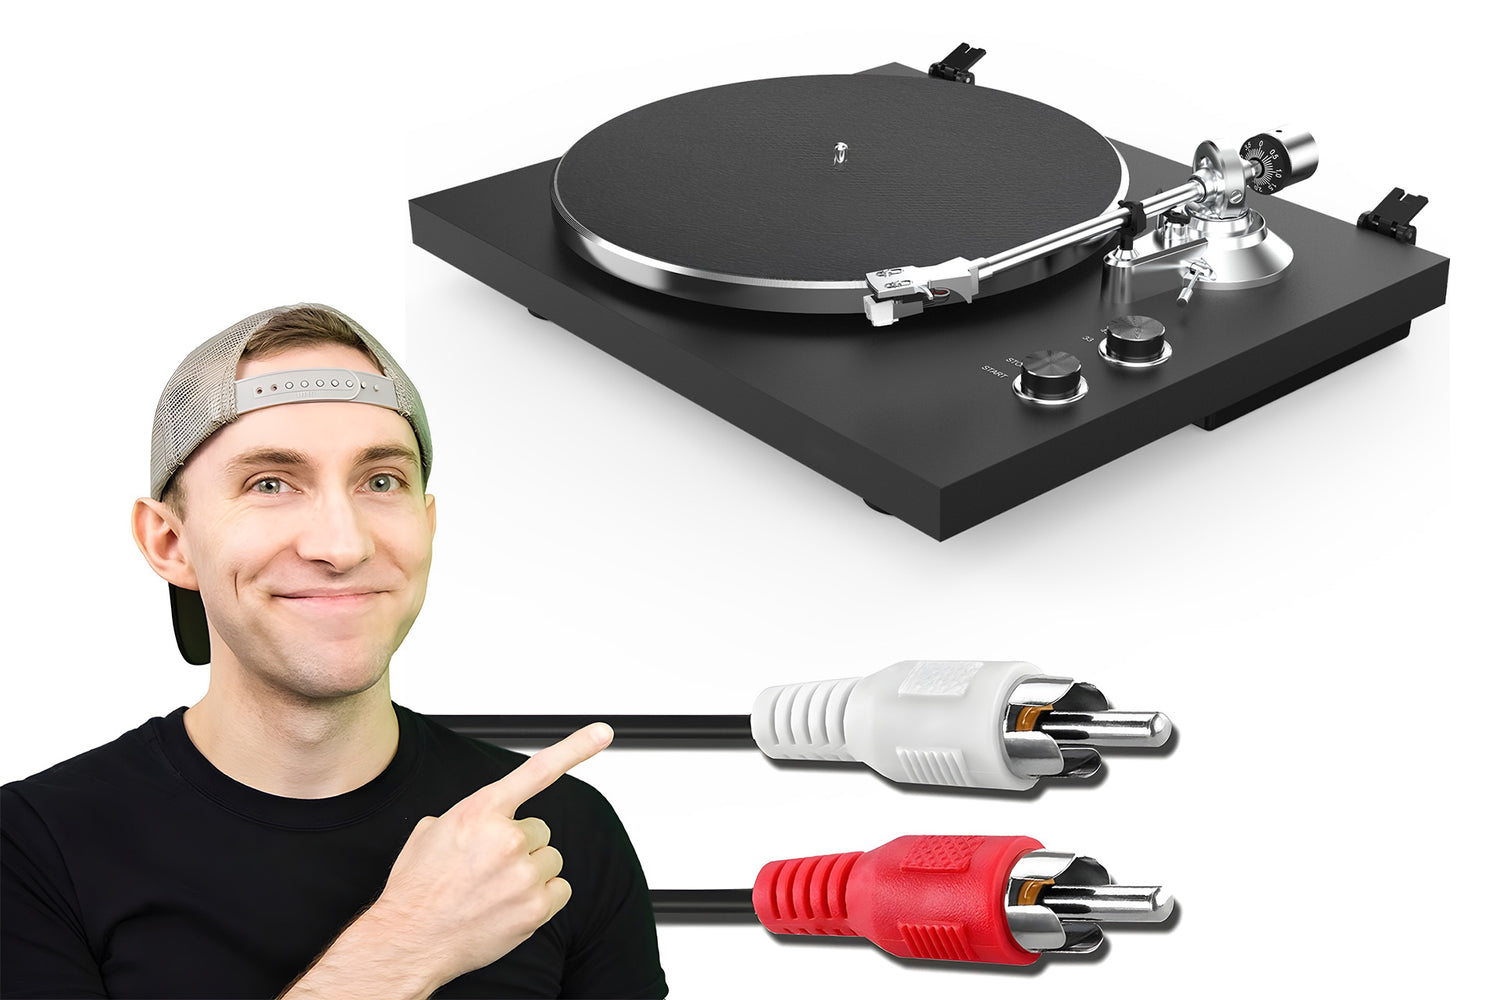
5. Connect to Amplifier
Connecting to a Amplifier: Use the record player's RCA cables to connect the record player to the "Phono" input of your amplifier or dedicated head amplifier. Make sure the left and right channels are connected correctly, and make sure the ground connection is intact to reduce noise.
6. Grounding
Ground wire: If your record player has a ground wire, be sure to connect it to your sound system to reduce potential ground noise.
7. Turntable Pad and Dust Cover
Use a turntable pad: Using a proper turntable pad can reduce static and vibration and improve sound quality. Some record players may already include appropriate turntable pads. Use a dust cover: If your record player has a dust cover, close it when not in use to protect the turntable and cartridge from dust and damage.
8. Calibrate Playback Speed
Calibrate playback speed: Make sure your record player is set to the correct playback speed (33 1/3 or 45 RPM) to match your records. 9. Needle care Needle care: Check the condition of the stylus and clean it regularly with a soft brush or stylus cleaning solution. Replace the cartridge or stylus regularly to maintain optimal performance.
10. Record Cleaning
Record Cleaning: Make sure your vinyl records are clean before playing to reduce damage to the stylus from dust and debris. Use a record brush and cleaner to clean your records.
11. Testing and Calibration
Testing and Calibration: Before officially enjoying your music, do a test play to make sure everything is working properly. If necessary, fine-tune tracking, balance, and anti-bounce switches for optimal sound quality.
12. Optimize the Sound System
Optimize your sound system: Finally, make sure your sound system is set up correctly. Select the "Phono" input and adjust the volume and balance to ensure your music plays at its best.
13. Enjoy Music
Ultimately, enjoying your music is your ultimate goal with proper installation and setup of your vinyl record player. Sit back, put your favorite records on the record player, then relax and enjoy that warm, authentic vinyl journey.
By following the steps above for proper installation and setup, you can ensure that your vinyl record player provides excellent sound quality and musical experience while extending the life of your records and cartridges. Whether you're new to vinyl music or a seasoned aficionado, these tips can improve your musical enjoyment.


Leave a comment
All comments are moderated before being published.
This site is protected by hCaptcha and the hCaptcha Privacy Policy and Terms of Service apply.