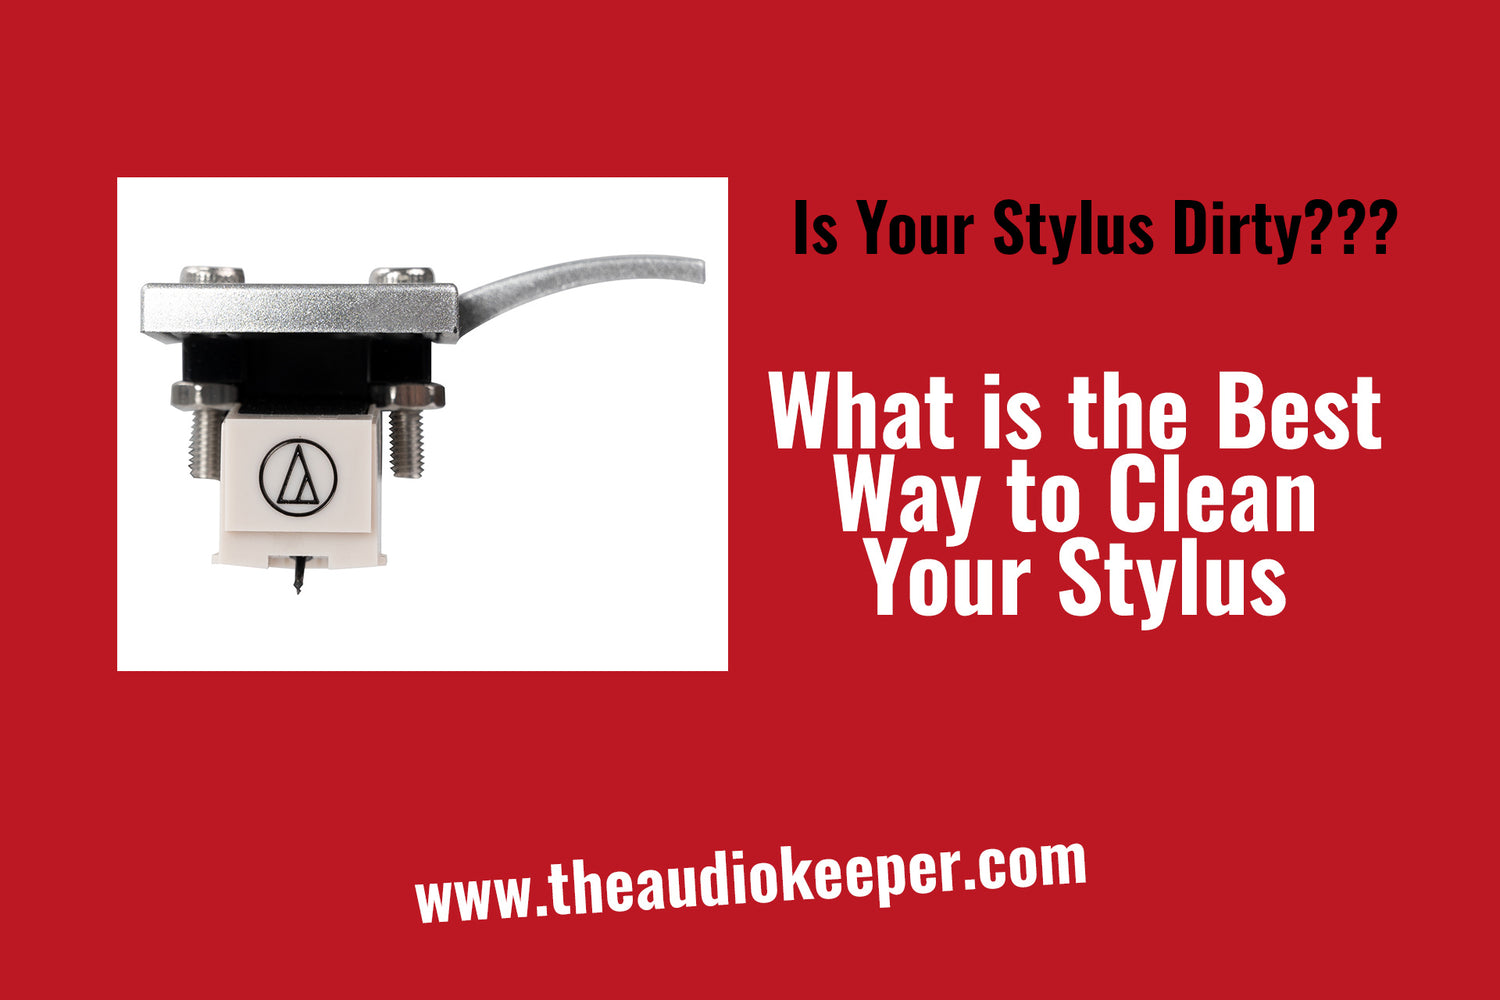
As a brand specializing in the production and sale of high-fidelity vinyl turntables, we know the importance of the Stylus, which is the link between music and listeners. However, just like the high-quality music experience pursued by vinyl turntables, cleaning the stylus is also a key step to ensure pure sound quality. In this blog, we’ll take a closer look at how to properly clean your stylus to enhance your music enjoyment on your high-fidelity vinyl turntable.
Part One: The Wonderful Fusion of Stylus and High-fidelity Music
In high-fidelity turntable systems, the stylus plays a vital and central role. Understanding the impact that cartridges have on sound quality and how they relate to vinyl records is the first step to ensuring great sound quality. The function of the stylus is not just mechanical, it is an art, transforming the bumps, tiny notes and subtle tones on the record into intoxicating sounds through its tiny vibrations and contacts.
- First of all, the stylus is the medium for audio track transmission, and its quality and design directly determine the degree of music restoration. High-fidelity systems aim to restore the original true state of music, and the stylus plays a key role in filtering, transmitting and restoring audio information in this process. Its subtle vibrations and contact patterns capture every note on the record, delivering ultimate sound quality.
- Secondly, the close relationship between the stylus and the vinyl record is the cornerstone of a successful hi-fi system. The tiny contact between the stylus and the record surface determines the clarity, timbre and dynamic range of the sound. A well-designed stylus can accurately read the information on the record, making the notes clearer and more natural, without being affected by impurities and distortion.
- In the pursuit of sound quality, it is crucial to understand the material, shape and design principles of the stylus. Different stylus designs are suitable for different music styles and record types. Some styli are designed for heavy bass, while others focus on the mids and highs. Understanding these differences can help music lovers choose the needle that best suits their taste and sound system.
Overall, the stylus is a key factor in sound delivery in a hi-fi turntable system. By deeply understanding its central role in the system, we can better appreciate the subtleties of music, allowing the sound system to perform at its best and give us a superior musical experience.
Part Two: The Importance of Cleanliness
When playing vinyl records, the stylus inevitably faces challenges from dirt and dust in the environment. These tiny particles may seem insignificant, but their impact on the needle and sound quality cannot be ignored.
- First, a buildup of dirt and dust can cause the stylus to lose good contact with the record surface. Tiny particles may settle on the tip of the stylus, forming a thin coating that prevents the stylus from fully conforming to the record surface. This will result in a loss of signal transmission, limiting the details and dynamic range of the music, and affecting the restoration of sound quality.
- Secondly, dirt and dust may also cause the quality and slight vibration of the stylus to be disturbed. Since the mass of a stylus is directly related to vibration transmission, the presence of dirt may cause uneven loading on its surface, affecting its vibration characteristics. This can cause distortion and distortion of the audio signal, making the sound quality distorted and unrealistic.
- Cleaning needles is essential to maintaining high-fidelity sound quality. A regular cleaning routine can effectively remove dirt and dust accumulated on the stylus, keeping its tip sharp and sensitive. This not only helps to restore good contact with the record surface, but also helps to minimize interference with vibration from external factors, thus ensuring the restoration of sound quality.
Cleaning the stylus is not just part of sound quality maintenance, it is a key step in providing listeners with a purer, more realistic music experience. A clean stylus can more accurately read the track information on the record, resulting in a more vivid and clear sound. This provides music lovers with a deeper sense of immersion, allowing them to better appreciate the beauty of music and experience the realism and emotional resonance of high-fidelity sound.
Part Three: Preparation - Protecting Your Investment
Taking the proper precautions before proceeding with stylus cleaning is key to ensuring the long-term performance of your hi-fi system. Here is a list of tips to help you minimize contamination and protect your precious sound system before cleaning your stylus.
- 1. Optimization of storage environment: Make sure your sound system is in a relatively clean, dust-free environment. Try to avoid placing the sound system in dusty areas to prevent dirt and dust from entering the system and reducing unnecessary impact on the stylus.
- 2. Use protective cover: Use a professionally designed turntable cover to cover the turntable area when you're not using your sound system. This can effectively prevent dust and other impurities from entering the record player and reduce the degree of contamination of the stylus.
- 3. Clean records regularly: Before using your record player, make sure the record surface is clean. Cleaning your records regularly reduces the transfer of dirt and dust, thereby reducing the risk of contamination of the stylus.
- 4. Avoid touching the stylus manually: Try to avoid touching the stylus directly with your hands. Oil and dirt from your hands may transfer to the stylus, affecting its performance. If you need to move the stylus, use a professionally designed stylus brush or tool to reduce the frequency of hand contact.
- 5. Replace the record needle regularly: Consider replacing the stylus regularly, especially if it shows signs of wear or reduced performance. A fresh stylus provides a clearer, more accurate sound.
- 6. Maintain record cleanliness: Keep your vinyl records clean by removing dust and dirt regularly. This helps reduce the number of particles transferred to the stylus, improving sound reproduction.
By taking these precautions, you can minimize contamination of the stylus and create a more favorable environment for the formal cleaning process. Not only does this help protect your hi-fi system investment, it also ensures you always experience the highest quality music enjoyment.
Part Four: Choosing the Right Cleaning Tools
When it comes to stylus cleaning, choosing the appropriate cleaning tools is key to ensuring effective and safe cleaning. The following are various common stylus cleaning tools and their applicable scenarios:
1. Stylus Brush:
- Applicable scenarios: For daily cleaning and maintenance.
- How to use: Use a small, soft brush to gently wipe the stylus tip. Dust and tiny particles adhering to the surface are removed by gentle lateral movements.
2. Stylus Cleaning Fluid:
- Applicable scenarios: For deeper cleaning to remove dirt and grease.
- How to use: Apply cleaning solution to a professionally designed brush or cleaning pad, then gently wipe the stylus. Cleaning fluids are usually specially formulated to dissolve dirt without damaging the stylus.
3. Carbon Fiber Brush:
- Applicable scenarios: Used to remove static electricity and slight electrostatic adhesion.
- How to use: Small and soft carbon fiber bristles can gently wipe the stylus, effectively removing static electricity and slight adhesion.
When choosing a cleaning tool, always consider the type and condition of the stylus. Different stylus materials and designs may require different cleaning methods, make sure the tool you choose is suitable for your stylus type to avoid any potential damage. Having a good understanding of how these tools are used can help you protect your stylus more safely and effectively during the cleaning process.
Part 5: Step-by-Step - Optimizing Your Stylus Cleaning Process
Detailed steps and graphic demonstrations for cleaning the stylus
- Step 1: Preparation
Before starting the cleaning process, make sure you have the following tools and materials: Stylus brush or carbon fiber brush or stylus cleaning fluid
- Step 2: Preliminary cleaning of the stylus
Use a stylus brush or carbon fiber brush to gently wipe the stylus crosswise. This helps remove dust and impurities from the surface, preparing it for a deep clean.
- Step 3: Use stylus cleaning fluid
Place a drop or two of stylus cleaning solution on a cleaning pad or in a suspension of cleaning solution. Carefully place the stylus gently on the cleaning fluid, making sure the stylus is completely suspended in the liquid.
- Step 4: Gently wipe the stylus
Use the stylus brush to gently move up and down the stylus. Avoid using too much force and be sure to clean the surface of the stylus gently and evenly. This step is designed to remove dirt and grease.
- Step 5: Check the cleaning effect
Use a magnifying glass to inspect the stylus surface. Make sure there is no residual dirt or cleaning fluid on the stylus. If necessary, repeat the above steps until the stylus is completely clean.
- Step 6: Regular inspection and maintenance
Regularly check the condition of the stylus to make sure it is kept clean, and perform regular cleaning and maintenance as needed. Replace the stylus if it shows obvious signs of wear.
Tips and Notes:
- Gentle Technique: Make sure to use a gentle technique during the cleaning process to avoid applying excessive pressure on the stylus to avoid damage.
- Avoid hand touching: Try to avoid touching the stylus directly with your hands to prevent grease and impurities from spreading to the surface of the stylus.
- Choose the right tool: Choose the right cleaning tool based on the type and condition of the stylus to ensure it doesn't cause unnecessary damage.
- Check the condition of the stylus regularly: Check the condition of the stylus regularly to detect and deal with any problems promptly to ensure excellent sound quality.
By following these detailed steps and illustrated demonstrations, you can be sure to take the correct, effective approach when cleaning your stylus. Not only does this help improve sound quality, it also protects your precious stylus and hi-fi system.
Part Six: Solving Common Problems
Problem 1: Stubborn dirt solution:
1. Use cleaning fluids for added results: Try professional stylus cleaning fluids, which often contain detergents and solvents that are more effective at dealing with stubborn dirt.
2. Enhance brush cleaning: Use a carbon fiber brush or stylus brush to increase the lateral wiping force. With the help of cleaning fluid, repeated wiping can gradually remove dirt.
Problem 2: Electrostatic adsorption solution:
1. Use antistatic tools: Be sure to use an antistatic cleaning pad, brush, or stylus brush to reduce the impact of static electricity on the stylus.
2. Carbon Fiber Brush: Not only does a carbon fiber brush help with cleaning, it can also help eliminate static electricity and reduce adsorption.
Problem 3: Special care for high-end needles solution:
1. Use cleaning fluids with caution: For high-end styli, choose a cleaning fluid designed specifically for high-end styli and avoid using cleaning fluids that contain harmful ingredients such as alcohol.
2. Avoid over-wiping: High-end styli are usually more precise. Avoid over-wiping and use gentle techniques to clean to prevent damage.
Problem 4: Differences in handling different stylus types solution:
1. Magnetic stylus: For magnetic styli, make sure to use cleaning tools and fluids that will not affect its magnetism. Use caution to avoid magnetic damage.
2. Diamond stylus: Diamond stylus requires more careful treatment. Choose a brush and cleaning fluid suitable for diamond materials, and avoid using tools that are too rough.
Problem 5: Check the condition of the stylus regularly solution:
Maintenance Schedule: Develop a regular stylus maintenance schedule that goes beyond cleaning to checking for wear and damage. Finding problems in time will help protect the stylus and extend its life.
With the solutions above, you can more confidently handle the various challenges you may encounter during the stylus cleaning process. Remember, patience and meticulous work are key to ensuring a successful cleaning process.
Part Seven: Develop a Regular Maintenance Plan
The importance of regular cleaning: Regular stylus cleaning is a critical step in ensuring excellent sound quality and protecting your investment. Over time, the stylus can accumulate dust, dirt, and grease, affecting its performance and reducing sound quality. With regular cleaning, you can ensure that your stylus remains clean, responsive, and provides a clear, true-to-life representation of your music.
Practical tips for a stylus maintenance schedule:
- Develop a cleaning schedule: Set up a regular cleaning schedule, basing cleaning intervals on how frequently you use your record player and the environment. Generally speaking, cleaning every 15-20 hours of playtime is a good starting point.
- Record Cleaning: Clean your vinyl records regularly to reduce the possibility of dust and dirt transferring to the stylus. Use professional record cleaning tools and fluids.
- Avoid manual contact: Try to avoid touching the stylus directly with your hands. Oils and impurities from your hands may transfer to the stylus, affecting its performance.
- Replace brushes and cleaning fluid regularly: If you use brushes and cleaning fluid for cleaning, check their condition regularly and replace them as needed to ensure effective cleaning.
- Monitor the condition of the stylus: Regularly check the condition of the stylus using a magnifying glass. Pay attention to any obvious signs of wear or damage and take prompt steps to repair or replace them.
- Calibrate and adjust regularly: If your turntable has an adjustable tonearm, calibrate and adjust the tonearm regularly to ensure proper stylus mounting and tracking.
- Use professional services: Occasionally send your record player to a professional audio repair service center for inspection and maintenance, especially for high-end stylus.
By developing and following a stylus care plan like this, you can ensure that your stylus is always in top condition and provides a superior musical experience. Keeping your stylus clean and sensitive will provide long-term benefits in the life and performance of your sound system.
Conclusion: A refreshing Experience of High-fidelity Music Journey
The focus of this article is to highlight how to enhance your musical enjoyment on your high-fidelity vinyl turntable through proper stylus cleaning. The following is the main summary of this article:
- Necessity of Cleaning: Regular stylus cleaning is a critical step in ensuring excellent sound quality and protecting your investment. Over time, the stylus can accumulate dust, dirt, and grease, affecting its performance and reducing sound quality.
- Detailed cleaning steps: The article provides detailed cleaning steps and graphic demonstrations, including preparation, preliminary cleaning, using stylus cleaning fluid, wiping, static elimination and other steps. By following these steps, readers can ensure proper, effective methods are used when cleaning styli.
- Solve common problems: This article solves common problems you may encounter, such as stubborn dirt, electrostatic adsorption, special care for high-end stylus, etc. Corresponding solutions and professional tips are provided.
- Periodic Maintenance Schedule: Emphasizes the importance of regular cleaning and provides practical advice on a stylus maintenance schedule. By making a plan, readers can ensure that the needle is always in top condition, providing a superior musical experience.
- Improved musical enjoyment: The ultimate goal is to improve readers’ musical enjoyment on high-fidelity vinyl turntables by cleaning the stylus. Keep the needle fresh so your musical journey is always filled with a fresh, authentic musical experience.
With these key points, readers will be able to better understand how to properly clean the stylus and achieve a more superior and enjoyable musical experience on your vinyl turntable.


Leave a comment
All comments are moderated before being published.
This site is protected by hCaptcha and the hCaptcha Privacy Policy and Terms of Service apply.